
TUTORIAL 01 - BASICS
This tutorial showed the techniques behind basic 3d modelling in rhino.
Rhino was used to create an array pattern on a surface, a lofted surface and use of a contour model.
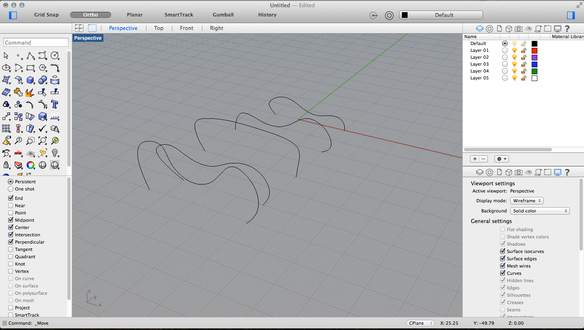
I started by making a lofted shape using the curve tool and using nurbs to create the ideal shape. These were parallel to each other and needed tweaking.
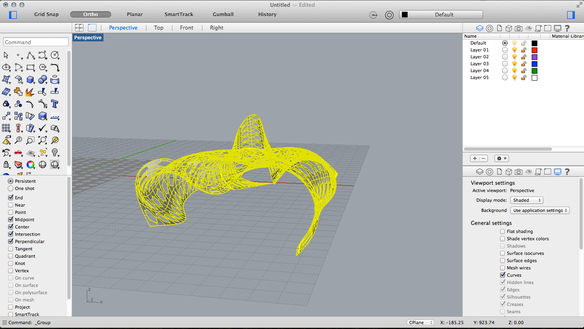
Having navigated to 'surface loft-normal loft', this created a complete shape using the different lines.
It was interesting to see how it was done in rhino as I had done it before on 3ds max. Rhino is a lot simpler to achieve this result but both programs have their advantages and disadvantages.
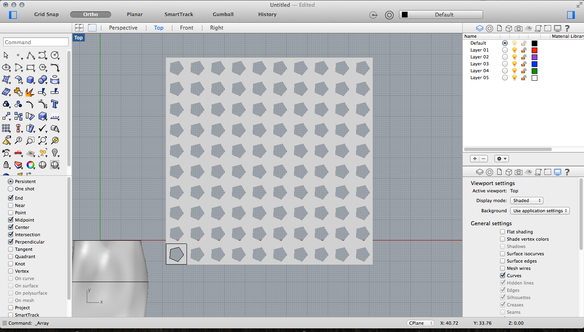
I created a 200mm x 200mm square for a pattern and using the array tool implemented I across all three axes.
Then I made plane roughly the same size as the whole surface or the pattern to sit on. Using the command-flow along surface, a corner was selected on both the reference and target
surface and the pattern arrayed cross.
This was then put into 3ds max to generate a materialised render.


Max Render using 2015 3ds max with Mental ray renderer a realistic Mray materials Mray Sun and Sky Map: